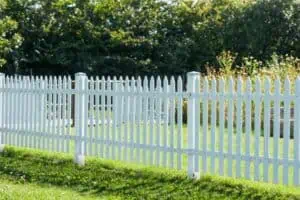
How to Build a Cedar Privacy Fence?
Cedar is a durable and attractive option for a privacy fence, and it can add value to your home. In addition, cedar has natural oils that protect it against pests and decay. Despite the cost of a cedar privacy fence, it is one of the most affordable types of wood fences, so if you’re looking for a long-lasting, low-maintenance fence that will help boost your property value, it is worth considering.
(Searching in Google “wrought iron fence contractors near me“? Contact us today!)

Building a cedar privacy fence is easy, and it will add value to your home in the process. However, it does take some planning and preparation to get the job done correctly.
Start with a clear work area that is at least 2 feet wide and two feet deep on both sides of where your fence will be built. Remove any weeds or other vegetation in the area and level it as best as you can.
Next, measure and mark where your posts will be on the ground. Then, use a carpenter’s square to make sure the corners are straight.
If you have a post-hole digger, dig a hole for each post at the end of your fence line. For a six-foot fence, you will need to dig holes that are about a third of the height of each post plus six inches deep and three times as wide as the post.
Set each post in the hole, bracing it with stakes as needed to ensure it is aligned. Once the post is in place, pour concrete into the holes until they are at least six inches deep. Leave it to dry for about 48 hours.
Now you can attach your fence panels to the posts using wood screws. You can either use pre-made fencing panels or you can build your own.
To build your own privacy fence, begin by choosing a material that matches your desired look. You can use Western red cedar, pine, cypress or some other type of wood. You can also choose a style of fence that will complement your landscaping.
Installing a cedar privacy fence can be a DIY project that can be completed in about three days. Your specific time frame will depend on how many linear feet you need to cover and the materials you use.
Step 2: Attaching the pickets
When putting up a cedar fence, you will want to ensure that each section is plumb and level. This can be difficult when assembling a long row of pickets, so it is important to use batter boards or string to delineate each piece and make sure that the lines are straight and plumb.
Depending on the weather in your area, you may need to stain or coat the fence to ensure that it stays in good condition. This will protect it from the elements and keep it looking beautiful for years to come.
If you live in an area where rain is common, a cedar privacy fence will withstand the moisture better than other types of fences. This will protect it from insects and other pests that can be a problem in wet areas.

